
Over the last couple of years my family has been upgrading our home audio system and our home theater system inside the house and on the outside patio area and after much research we chose to go with SONOS products. Unfortunately we discovered that it’s kinda hard to do that easily because there are so many Sonos products and it’s hard to know which one you need for which purpose. Luckily I found an informative article that helped me and I wanted to share it with you in the hopes that it will be useful to you as well.
Best Sonos Products Buying Guide
Portions of this post come from a helpful article on Crutchfield.com and written by Ralph Graves

One of the easiest ways to add music to lots of rooms in your house is with Sonos.
Sonos is easy to set up and control wirelessly with your smartphone or voice. And it’s cost-effective compared to hiring a custom installer. We can help you get started. Read on for advice on what you need to add wireless multi-room audio to your life.
How to use Sonos for wireless music
If you want to replace your current speaker system or add music to different rooms, Sonos offers a variety of powered speaker models (each is available in black or white).
Sonos speakers and sound bars are also compatible with Apple AirPlay® 2. This lets you stream directly from iOS devices (like an iPhone®) and use Siri to play Apple Music selections (with subscription). It also lets you stream Netflix and YouTube soundtracks to your Sonos speakers as the video plays on your device.
The current Sonos Speaker lineup includes
Sonos One vs Sonos One SL
The Sonos One SL is virtually identical to the Sonos One, except it doesn’t have any voice control capabilities.
Sonos One
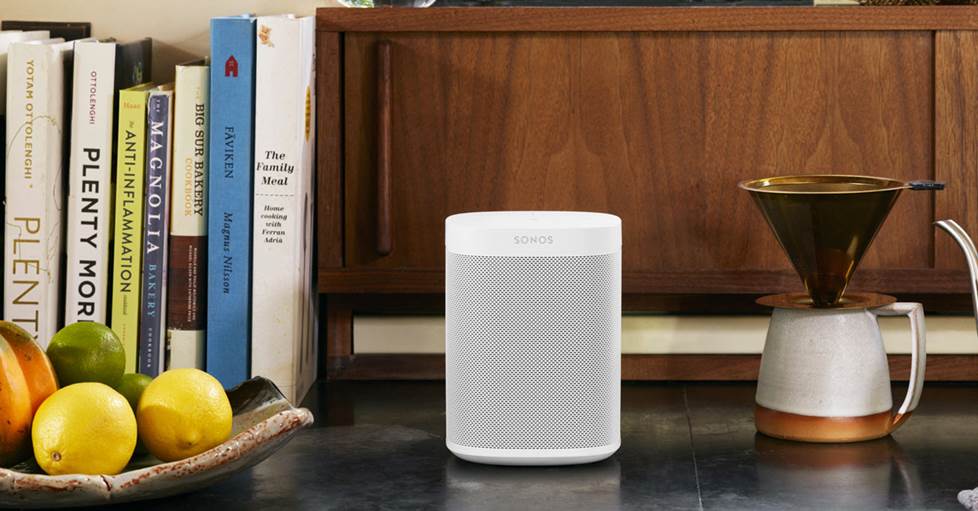
- Great for: smaller rooms like a bedroom or a dining room
- Built-in speakers: 2 full-range drivers
- Built-in voice control: Amazon Alexa and Google Assistant
- Placement: tabletop; wall- or stand-mountable
- Sound: well-balanced with clear detail and expansive sound field

Sonos One SL
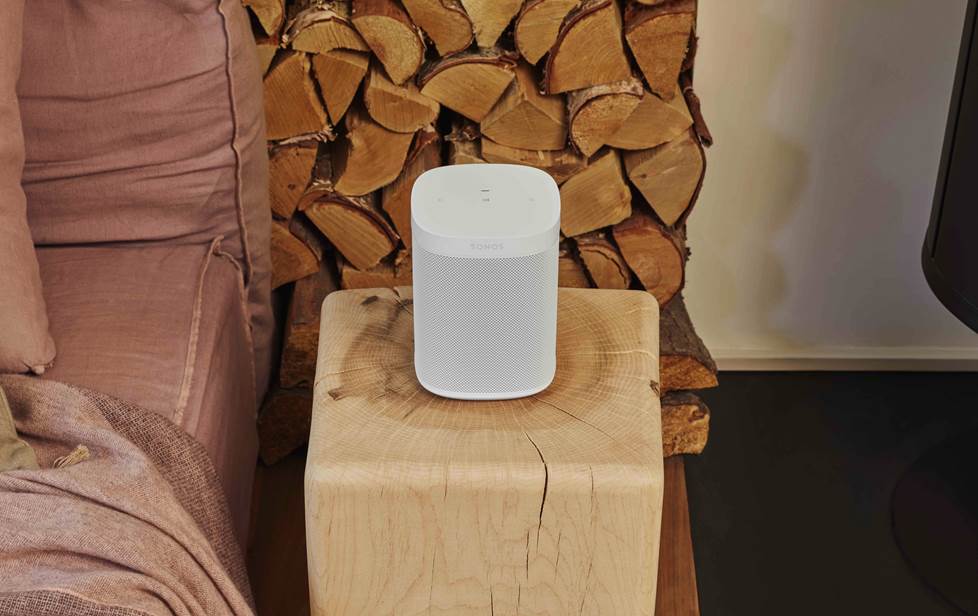
The Sonos One SL is great for smaller rooms where voice control is not needed.
- Great for: smaller rooms like a bedroom or a dining room. The Sonos One SL is virtually identical to the Sonos One, except it doesn’t have any voice control capabilities.
- Built-in speakers: 2 full-range drivers
- Placement: tabletop; wall- or stand-mountable
- Sound: well-balanced with clear detail and expansive sound field

The portable Sonos Move lets you take your music anywhere.
What is the Sonos Move?
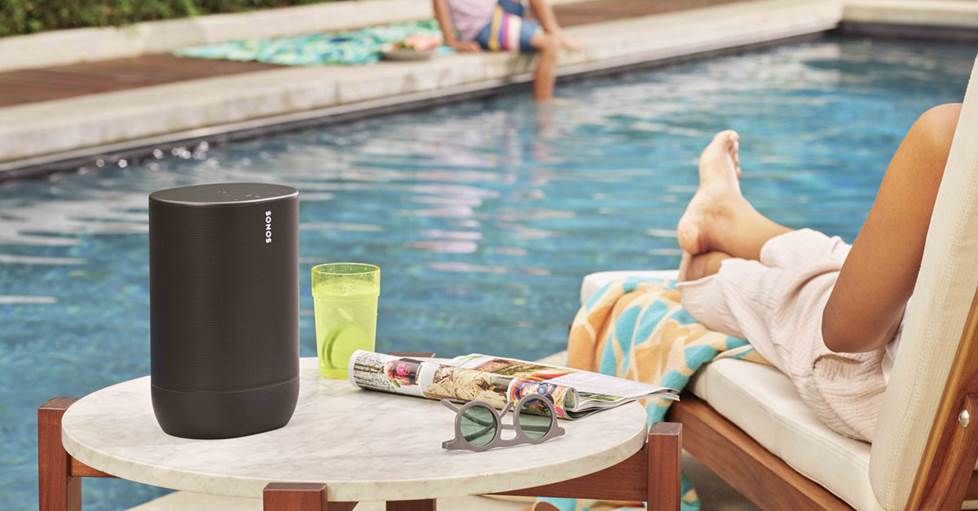
The Sonos Move is a portable wireless Sonos Speaker with a built-in rechargeable battery. When it can connect with your home Wi-Fi, it can be a part of your Sonos multi-room system. You can also take it anywhere you would any portable speaker (it’s waterproof), and use it as a Bluetooth speaker.
- Great for: decks, patios, and on-the-go listening
- Built-in speakers: 2 full-range drivers
- Built-in voice control: Amazon Alexa and Google Assistant
- Placement: tabletop
- Sound: clear and balanced with full-sounding bass
- Weather Resistant: With an IP56 rating, Move stands up to humidity, rain, snow, dust, salt spray, UV rays, and extreme heat and cold
- Durable: Don’t worry about accidental drops or bumps. Move’s components are protected by a hard-wearing, shock-resistant case
Sonos Five – More Power for Larger Rooms
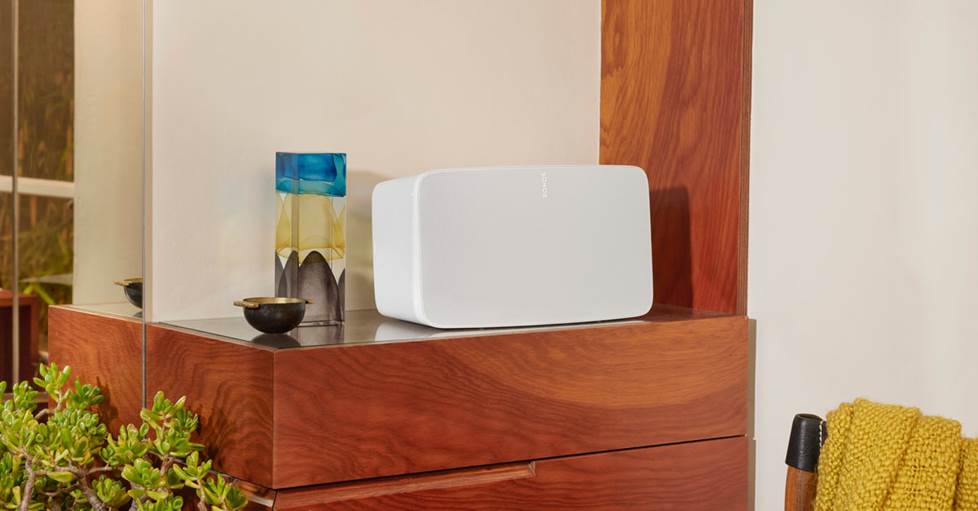
The Sonos Five is ideal for larger rooms.
- Great for: large rooms like a living room, master suite, large kitchen, or open floor plans
- Built-in speakers: 6 balanced drivers: 3 tweeters and 3 high-excursion mid-woofers
- Placement: tabletop; wall- or stand-mountable
- Other features: 3.5mm line in and headphone jack
- Sound: Full-bodied and detailed with a spacious sound field
Sonus Sub – the key to Max Bass

If you’re really serious about excellent sound with plenty of deep bass, we recommend adding a Sonos Sub to a pair of Sonos speakers.
The Sonos Sub features dual woofers and acoustic ports, so it will fill out the low frequencies. It’s great for a system that will rival some pretty nice receiver-and-speaker setups (it’s also great for movies and TV — keep reading). You can also pair the Sub with a single Sonos speaker, though we recommend using it with stereo pairs.
Tip: Use two Sonos wireless speakers in the same room for bigger sound
All Sonos speakers can be set to function in stereo pairs, for a wide stereo image and left/right separation. It’s a great option for large rooms where a single speaker may not be enough. Here’s a vid showing you how to create a Sonos Stereo Pair…
Of course, you can only pair like to like. So you can pair two Sonos One speakers or two Sonos Five speakers or pretty much any combo you like.
Shops Sonos Speaker Sets in the Sonos Amazon Store
Best Sonos Components to ADD Sonos to your current stereo system

The Sonos Port and Sonos Amp can added to your existing stereo system, giving you plenty of options to add Sonos into your home.
What is the Sonos PORT?
The Sonos Port allows you to enjoy all the wireless music benefits of Sonos speakers through your existing stereo system. It offers digital and analog audio outputs, so you can connect it to an integrated amplifier, preamp, stereo receiver, home theater receiver, or powered speakers.
I have the Port myself and it was one of the first Sonos components we purchased. It’s Easy to set up and it’s pretty much a set-it and forget it kind of device – which is awesome!
~That Helpful Dad
The Sonos Port lets you tie your existing stereo setup into a wireless multi-room music system – using Sonos speakers or your existing ones.
What is the Sonos Amp?
The Sonos Amp is a versatile amplified player for use with any pair of stereo speakers. Just connect your speakers to the terminals and start streaming tunes wirelessly. It also has mono subwoofer output, for a 2.1 audio system.
You can connect a TV to a Sonos Amp and stream its audio to other Sonos speakers in your system. It also has analog inputs for connecting a source component like a CD player, as well as a preamp output for a powered subwoofer.
Use the Sonos Amp to enjoy Sonos with a pair of stereo speakers.
TIP: You can use the Sonos Port and Sonos Amp with multi-room installations with in-wall or in-ceiling speakers
You can use multiple Sonos Port music players along with stereo or multi-room amplifiers to power in-wall or in-ceiling speakers in several rooms. It’s a great way to enjoy music throughout your home while all the gear remains out of sight.
The Sonos Amp makes it easy to add in-wall, in-ceiling, or outdoor speakers to your wireless multi-room music system.
To learn more, read Cruthfield’s article on How to use Sonos with ceiling speakers and outdoor speakers.
Sonos Home Theater Setups
If you want to put together a system for your TV room or home theater, Sonos has some cool options that offer great sound and wireless music capability, including:
Each option has its own advantages. Sonos home theater systems can play wireless music from the same sources as all the other Sonos components. And these sound bars let you stream audio from your TV to Sonos components in other rooms.
Sonos Arc
The Sonos Arc is a great choice for both music and home theater playback.
- Great for: advanced home theater and music systems
- Built-in speakers: eleven — 8 elliptical woofers, 2 drivers, center channel speaker
- Connection to TV: HDMI ARC port; includes an adapter if you prefer an optical digital connection
- Built-in voice control: Amazon Alexa and Google Assistant
- Placement: cabinet-top; wall-mountable
- Special features: supports Dolby Atmos® audio signals for a more lifelike soundstage with compatible TVs
- Sound: spacious, detailed sound from both movie soundtracks and music tracks
Sonos Beam
The Sonos Beam is a compact sound bar for simple systems.
- Great for: dens, bedrooms, home offices
- Built-in speakers: five — 1 tweeter, 4 full-range drivers
- Connection to TV: HDMI ARC port; includes an adapter if you prefer an optical digital connection
- Built-in voice control: Amazon Alexa and Google Assistant
- Placement: cabinet-top; wall-mountable
- Sound: spacious sound with clear TV and movie dialogue
Sonos Playbar
The Playbar makes a great all-purpose sound bar.
- Great for: family rooms and living rooms
- Built-in speakers: nine — 3 tweeters and 6 mid-range drivers
- Connection to TV: optical digital audio cable
- Placement: cabinet-top; wall-mountable
- Sound: detailed sound with clear dialogue for movies and TV
Sonos Playbase
The Playbase provides a sturdy platform for your TV.
- Great for: living rooms, dens, bedrooms
- Built-in speakers: ten — 3 tweeters, 6 mid-range drivers, 1 low-frequency woofer
- Connection to TV: optical digital audio cable
- Placement: cabinet-top — designed to provide a platform for your TV
- Sound: spacious, powerful sound with strong bass; clear TV and movie dialogue
Sonos Beam vs Playbase vs Playbar
The following comparisons will help you understand the differences between the Sonos Beam vs Playbase vs Playbar.
Sonos Playbase vs Beam

Sonos Playbase vs Playbar

TIP: Add a Sonos Sub to expand your Sonos Home Theater System
The Sonos Sub can be paired wirelessly with any of these sound bars to expand and strengthen the low register, adding dimension to your TV and movie sound.
Playbar and Sub — the Sonos sound bar and subwoofer offer dynamic, impactful sound for movies and TV.
You can use two Sonos One, or Sonos One SL speakers as surround speakers with your Sonos sound bar. Along with the Sub, this gives you a 5.1-channel surround sound system for immersive sound in your home theater.
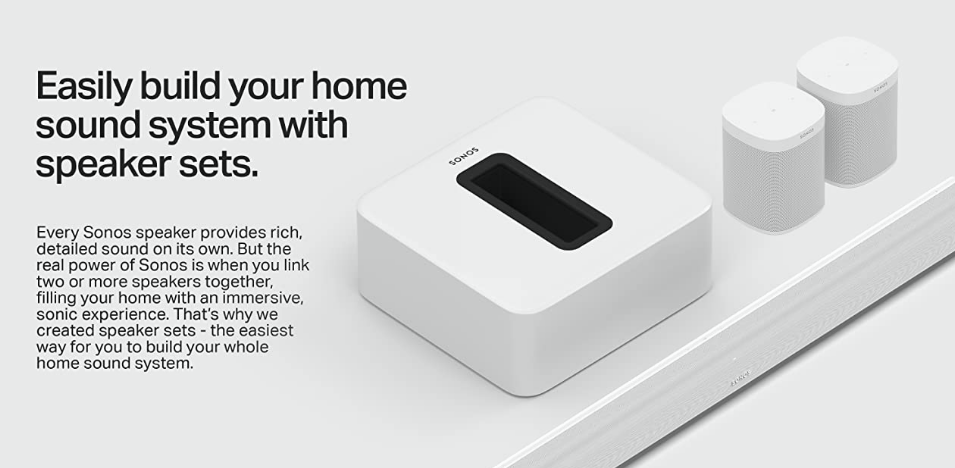
A great way to add surround speakers is to purchase a bundled set of Sonos speakers. You save money, and — depending on the bundle — you can add more speakers for additional rooms.
Enjoy a wireless home surround sound setup with Sonos components.
Shop Sonos Store on Amazon
Get even more ideas from the Sonos store on Amazon – click the pic to see more…